
Creating Daylily Art from pictures of my garden is the perfect way to enjoy the beauty of Daylilies year round.
As many of you may already know, I love Daylilies. Over the years, I have collected a variety of these beautiful plants and filled entire sections of my garden with them.
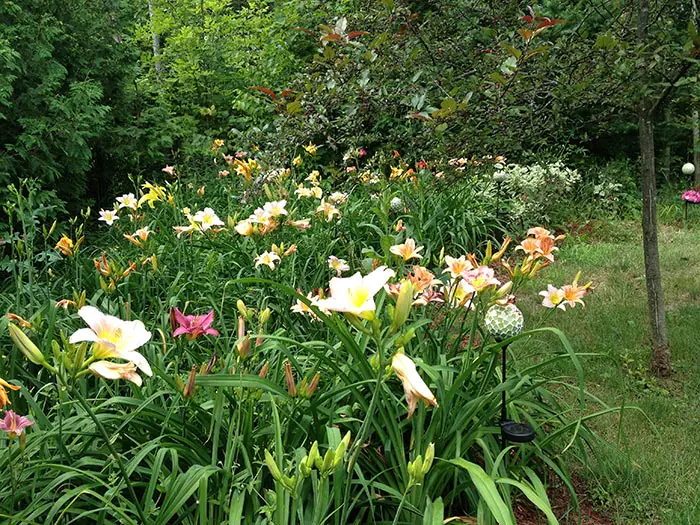
However, as the name implies… Daylilies don’t last that long. And they certainly don’t bloom in the harsh bitterness that we call Winter.
Therefore, I decided to bring some of their beauty into my home in a permanent way.
Doing so was easy and I love the end result.
Here’s how I did it….
Of course, this post covers what I did to celebrate my love of Daylilies and to create Daylily Art. You can use this same approach for whatever subject touches your heart.
Step 1 | Take Close Up Pictures of Your Daylilies
I am – by no means – a professional photographer, so I have to be very grateful for digital photography, which allows me to take a LOT of pictures in order to stumble across one or two decent ones that I can use. The rest get deleted as if they never happened.
But it was a labor of love, as I was able to get up close and personal with one of my favorite flowers.
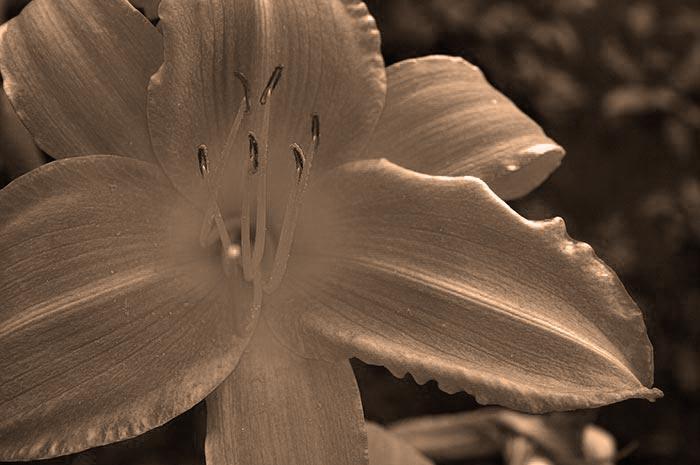
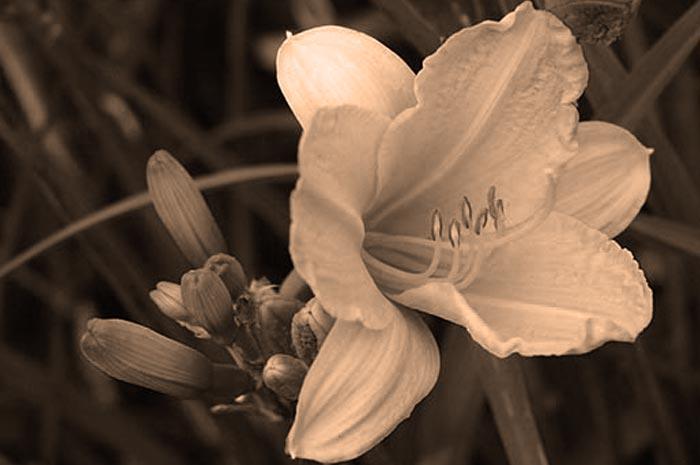
For most of these pictures, I used the macro setting on my digital camera in order to capture the details of my favorite Daylilies in full bloom.
Some of the pictures worked out beautifully. Others… not so much.
However, out of the hundreds of pictures that I took that day, I selected these as my top 15.


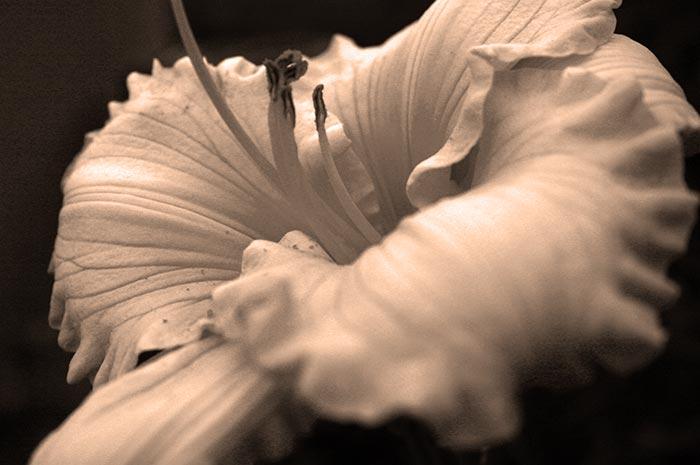
Step 2 | Giving my Daylilies the Artistic Treatment
While I could have simply printed the closeup pictures as they were, I wanted to create a set that was more thematically matched and a bit more subdued for internal display.
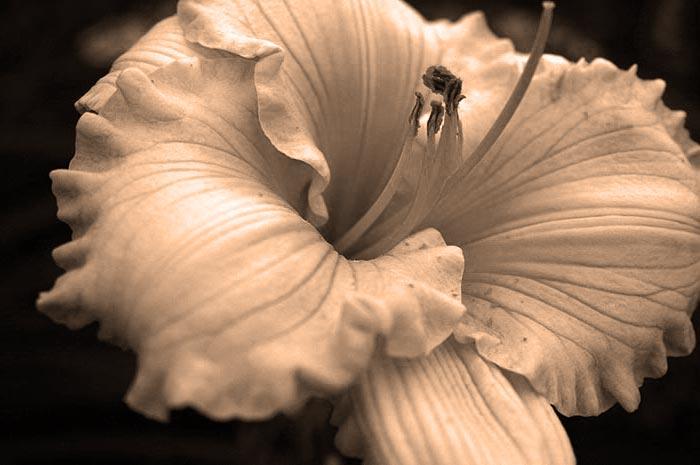
After a bit of experimentation in my photo editing software (something us non=professional photographers need really, really badly), I decided to settle on a classic Sepia tone.
Here’s how they turned out:
Plus, I had to resize them to make sure they would fit in a standard 8 x 10 frame. And one of them needed to be flipped from the original so that it provided a better visual contrast when they were going to be hanging so close to each other.
Once I had the image files completed, I uploaded them online to my local print shop and they were ready for me to pick up in about 2 hours.
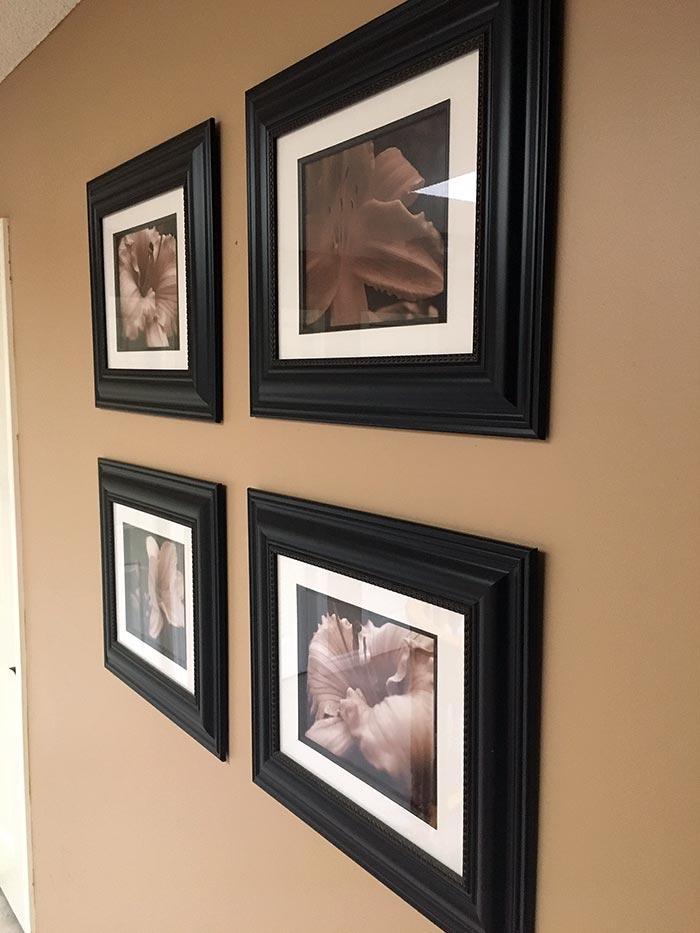
Step 3 | Frame Them Up
This part was easy and very cost effective. I had found these frames at Michael’s on clearance, even before I had begun imagining this project.
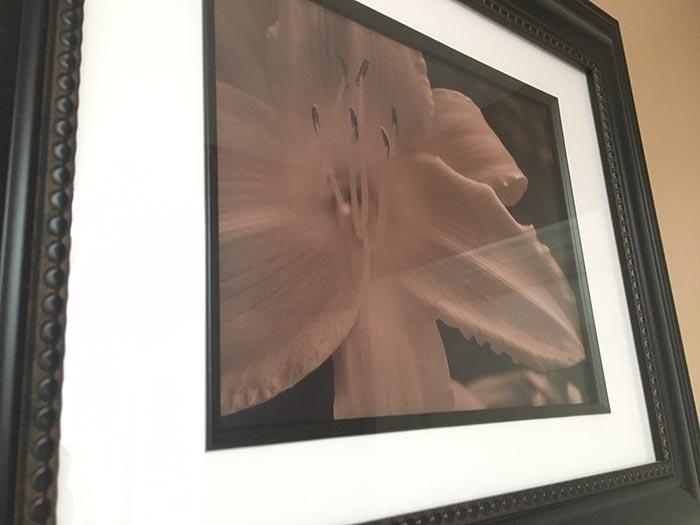
The bronze color of the frames and the white liner really worked beautifully with the sepia tone of the image.
And they were super simple bend clip type frames, so getting all 4 of the images framed up was a snap.
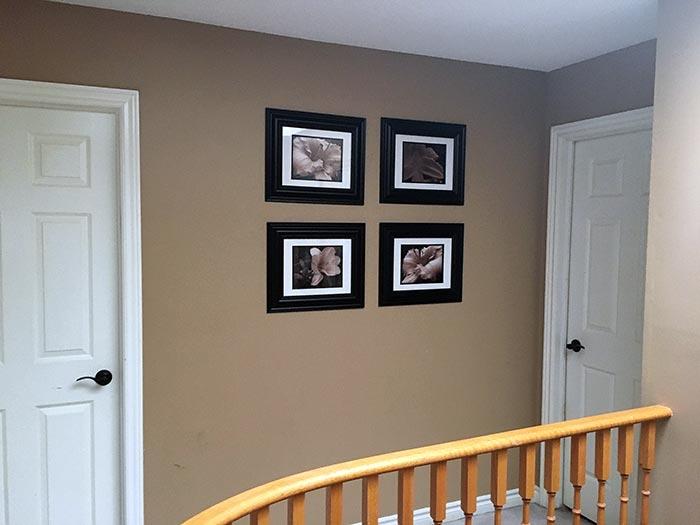
Step 4 | Hang Your New Daylily Art
I wasn’t sure what arrangement to use so I experimented with a few before finally deciding on the 2 x 2 arrangement.

I used some of the tips from the how to hang wall art post and created cut outs of the picture both for the experimentation and the final hanging pattern.
Step 5 | Step Back and Enjoy
These now hang in the upstairs hallway, and I can enjoy a quick peak into my garden any time of the day, night, or year.
Of course, you can use this same approach for whatever subject touches your heart.
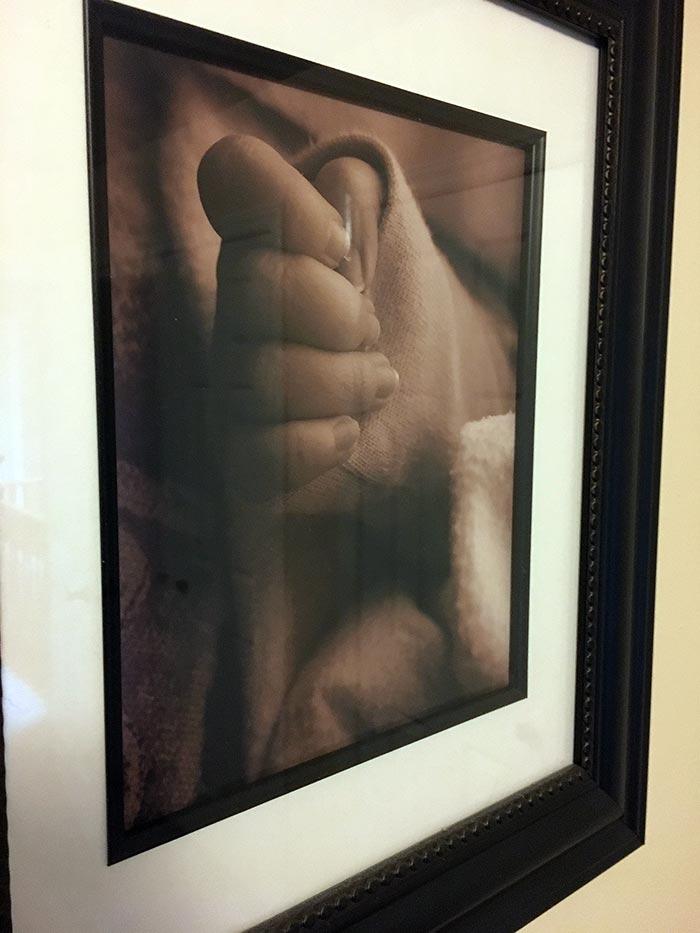
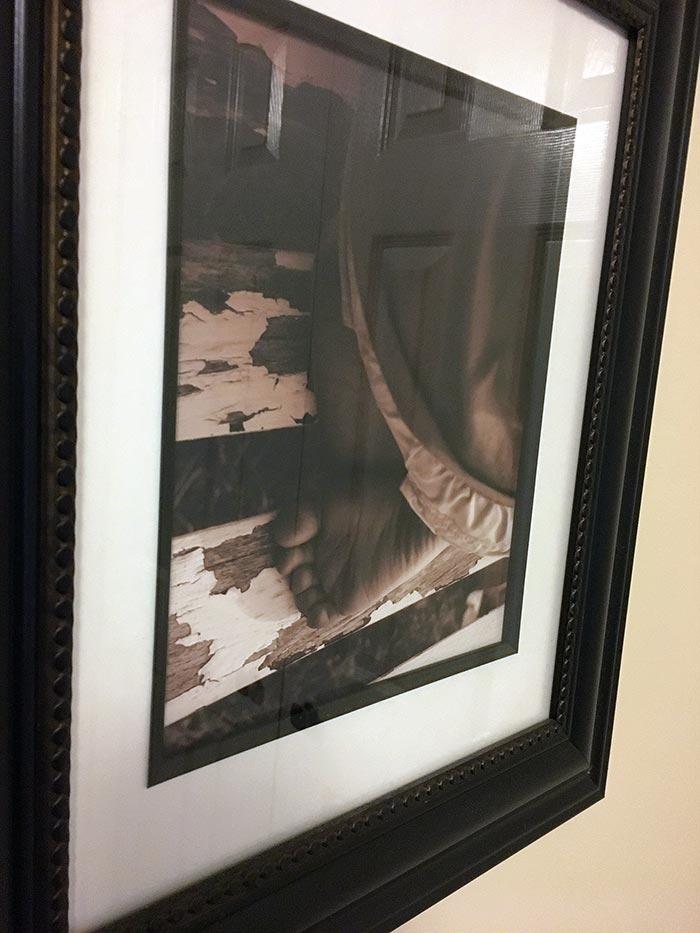
For example, I did up these beauties using the same process for someone very close to me, featuring the baby fingers of their daughter and the toes of their son.
So, as you can see… this process is a super simple way to create your own DIY art.
These may never win art awards, but the fact that I created these myself using pictures from my own garden makes them something truly special.

