
Step into the captivating world of photo editing and home decor with our comprehensive guide on how to edit and display photos. We walk you through the process of choosing the best shots from your photo collection, enhancing their appeal with smart editing tricks, and transforming them into stunning home decor accents.
Raise your hand if you’re a passionate photographer whose hard drive is bursting with pictures. Now, how many of you dream of transforming those digital treasures into striking home décor accents, making each corner of your home a testament to your skills and taste? And that’s precisely what we’re here to do together.
Welcome to the practical guide on How to Edit and Display Your Best Photos. Here, we unravel the captivating process of not just editing your precious snaps but also exhibiting them as statement pieces. And believe me, the word ‘statement’ isn’t overkill here; your photos are about to make a debut that would put a Hollywood starlet to shame.
Picture this – your favorite landscape photo adorns your wall, not just as a mere picture but as an enchanting piece of artwork that holds the gaze of every visitor. Or imagine, you’ve whipped out a weathered, rustic frame from the attic, and with a bit of magic (and some clever photo editing), it’s now a vintage masterpiece housing an old family portrait.
We all have stories to tell and memories to share. And while most of us love DIY projects, we often leave them half-done or incomplete due to our busy schedules. Here, we’re going to dive into the charming world of DIY and photography, where we turn time into art, moments into memories, and spaces into galleries.
Now, hold your breath as we take a plunge into the world of pixels and paints, DIY, and drama. This isn’t just a guide. It’s a journey of passion, creativity, and expression. So, let’s tighten our apron strings, put on our creative hats, and explore a realm where photography meets home décor. Don’t worry, no tech-babble or arty lingo. Just pure, practical know-how.
Ready to give your best photos the red-carpet rollout? Let’s get started!
How to Turn Photos Into Beautiful Artworks
You have a tight hold on your camera, and capturing picturesque images couldn’t be more blissful. But what do you do with your shots once they get into your device’s memory?
Most of us have thousands of pictures on our phones and digital cameras that never get to see the light of day. Maybe they’re a bit dark or too bright, or maybe you don’t find the framing appealing.
The good news is that you can fix all of that (and more). In today’s article, we’ll teach you a few basic editing tips, and we’ll talk about how to turn those stunning photos into decorative pieces for your home. So stay tuned!
Start By Choosing Your Best Shots
As photographers, we often find ourselves sitting on an archive of photos, each having its unique charm and appeal. But when it comes to turning these photos into home décor pieces, the choice becomes a bit challenging. This section explores how you can sift through your collection and choose the best shots that can metamorphose into stunning home décor items.
Importance of Photo Selection
Deciding which photo to display isn’t as straightforward as it might seem. It’s not just about finding a pretty picture; it’s about selecting an image that has the power to transform a space, evoke emotion, and tell a story. Each photo you choose for your home should reflect your personal style, speak to your interests, and, of course, complement the décor of your room.
But that’s not all! The selection also depends on where you’re planning to display the photo. A serene landscape might be perfect for your living room, while a candid family photo might be more suitable for your bedroom. The key here is to understand the atmosphere and vibe you want to create in each room and select photos that align with that vision.
Tips to Identify High-Quality Photos
Not every photo is a potential masterpiece, and that’s okay. The trick is to identify which of your photos are high-quality and capable of being transformed into beautiful décor items. Here’s what you should be looking for:
- Focus: The subject of your photo should be clear and in focus. If it’s a landscape, ensure that all elements are sharp and well-defined.
- Lighting: Good lighting can make or break a photo. Look for images that have used light effectively to create depth and drama.
- Composition: Photos with strong composition catch the eye and hold interest. Rule of thirds, leading lines, framing – these are all effective compositional tools that can make a photo stand out.
- Emotion: Does the photo stir up an emotion? If a photo makes you feel something, it’s likely to have the same effect on others.
Making Tough Decicions: Picking Your Favorites
This is the part where things can get a little tricky. With so many great photos, how do you choose your favorites? Here are a few tips to help you make the decision:
- Start by Narrowing Down: Begin by selecting a large batch of photos you love. Don’t overthink at this stage; just go with your gut.
- Look for Variety: Ensure your selected batch has a variety of images – from landscapes to portraits, abstract to candid shots. Variety adds interest and keeps your décor from becoming monotonous.
- Consider the Space: Think about where each photo will be displayed. The size, color scheme, and overall mood of the room should play a role in your final selection.
- Ask for Opinions: Sometimes, a second pair of eyes can be helpful. Show your shortlist to a trusted friend or family member and see what they think.
Remember, there’s no wrong choice here. If an image speaks to you and fits well with your home, it’s the right choice. So, trust your instincts and choose photos that make you happy. After all, it’s your home, and it should reflect your taste and personality.
Editing Your Photos: 3 Essential Tips
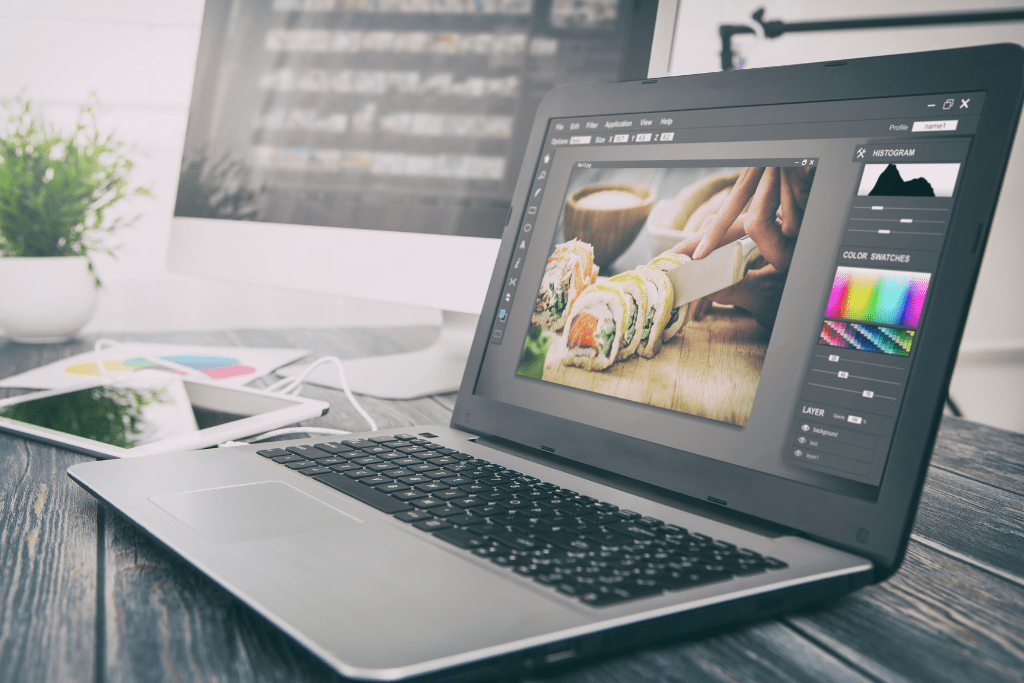
Before your photos can grace your walls or coffee tables, they need a little polish. This is where the magic of photo editing comes into play. Think of it as giving your photos a mini makeover – removing any imperfections, enhancing their best features, and getting them ready to step into the limelight. So, let’s dive in and explore the primary elements that can take your photos from good to fantastic.
1. Learn the Basics of Photo Editing
Photo editing can get quite complex, but before you can crop out entire elements and change the feel of the entire image, you have to learn how to adjust primary elements. So start with color saturation, contrast, and brightness.
When you know how to use these three photo editing elements, your photos look vibrant, well-taken, and inspirational. However, if you overuse any of these elements, you can end up with unnatural and overly dramatic shots.
The good news is that you can practice your photo editing skills for free by using online tools like the ones made available by Adobe or GIMP (to name a few).
2. Master the Art of Cropping And Framing
These two techniques (cropping and framing), when executed correctly, can transform your photos.
For instance, thoughtful cropping allows you to eliminate unwanted elements or refocus attention on the most interesting parts of your picture. On the other hand, the right framing amplifies viewer engagement. Proper framing provides a structured view, guiding eyes through your image in the most impactful way possible.
3. Explore AI-Based Tools For Photo Enhancement
We live in amazing times when almost anyone can enhance visuals using AI. True, you still need some basic photo editing knowledge, but you can do all sorts of things with AI-powered tools. For instance, you can increase your photo’s resolution, remove backgrounds, or make collages.
4. Adjusting Brightness and Contrast
Playing around with brightness and contrast is often the first step in the editing process. Brightness affects the overall lightness or darkness of the image, while contrast controls the difference between the lightest and darkest parts.
If your photo seems too dark, increasing the brightness can help, but be careful not to lose detail in the process. Contrast, on the other hand, can give your image a little extra punch. It can make the darks darker, the lights lighter, and help your subject stand out. But again, moderation is key. Too much contrast can result in a harsh and unrealistic image.
The goal here isn’t to transform your photo entirely but to subtly enhance it and make the main subject more pronounced.
5. Enhancing Colors and Saturation
Color is an integral part of any image. It sets the mood, attracts attention, and can even tell a story. That’s why, during editing, you should take the time to enhance and adjust the colors in your photo.
Saturation is a tool that can help you do just that. It controls the intensity of the colors in your image. Increasing saturation can make your colors more vibrant and eye-catching, while decreasing it can give your photo a muted, more subdued look.
Like all editing tools, saturation should be used wisely. Too much can make your image look artificial and overly processed. The idea is to bring out the best in your colors, not turn your photo into a neon sign.
6. Refining Details and Removing Blemishes
This is where your photo really starts to shine. Refining details and removing blemishes can turn a good photo into a great one.
Start by zooming in on your photo and looking for any distracting elements – a stray hair, a spot on the lens, a photobomber lurking in the background. Most editing software has a tool that allows you to remove these elements and clean up your image.
Next, consider using the sharpening tool to enhance the details in your photo. This can make the texture in your image more pronounced and give it a professional touch. But, like a spice in your favorite recipe, sharpening should be used sparingly. Too much can make your image look grainy.
By the time you’re done with this step, your photo should be looking its best and ready to be turned into an eye-catching piece of home décor. So, let’s move on to the next stage: choosing how to display your work of art.
Displaying Your Photos Like A Pro
Now that you know how to turn your photos into masterpieces, we have a few ideas on how to do them justice by displaying them like a pro.
1. Canvas Prints as Classic Wall Art
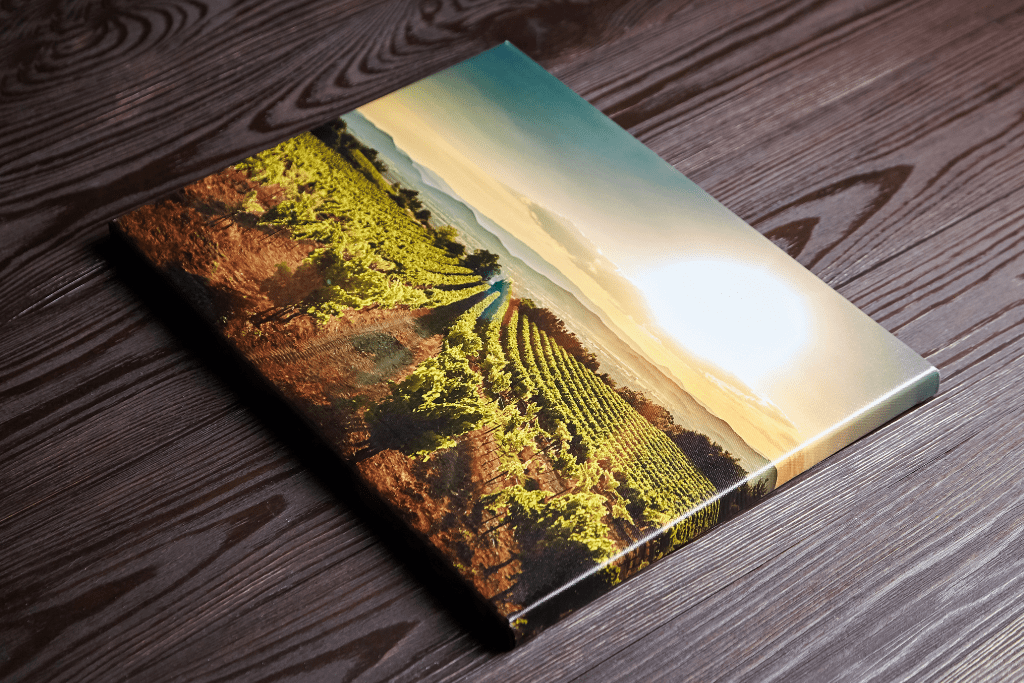
If you plan to turn your photos into wall art, you’ll need perfectly edited high-resolution pictures. When you blow up your photos and turn them into wall art that can cover an entire wall, even the smallest imperfection can become extremely visible.
On the other hand, canvas prints are a little more forgiving than glossy paper. This is an old-school yet evergreen method that adds character to your home decor. Canvas prints radiate a rustic appeal, allowing the depth and texture of your images to shine.
Choosing the right spot to showcase your creations is also important. A large, vivid canvas print can be a focal point in your living room or office. Even smaller spaces like hallways or stairway landings can become visually striking with an elegant arrangement of varied-sized canvas prints.
2. Create a Photo Gallery Wall
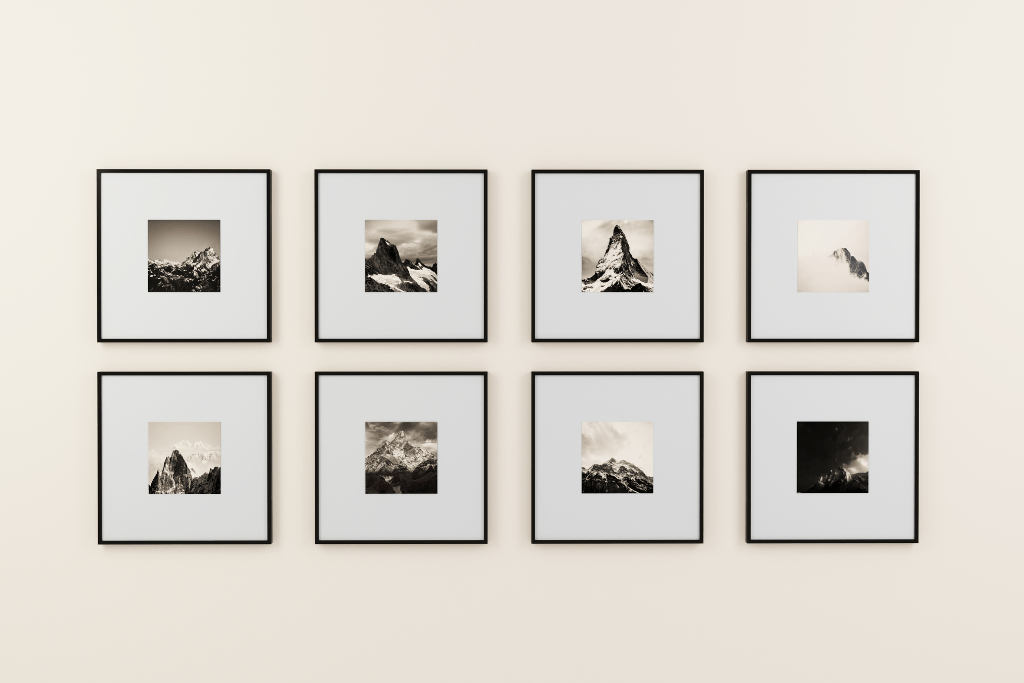
Creating a photo gallery wall could just be the revamp your living space needs. This feature turns an ordinary wall into an avenue displaying your photographic prowess and creativity – a testament to your knack for catching moments, colors, and perspectives others might overlook.
Picture it – a substantial wall dedicated to your extraordinary captures, displayed in geometric simplicity or captivating chaos. It will be the main attraction point of the room when guests drop by!
Don’t limit the gallery idea only to larger rooms. Smaller spaces, such as corridors, can gain depth and character through curated personal displays as well. With this approach, everyday living areas transform into dynamic exhibitions.
3. Incorporate Photos into Functional Decor
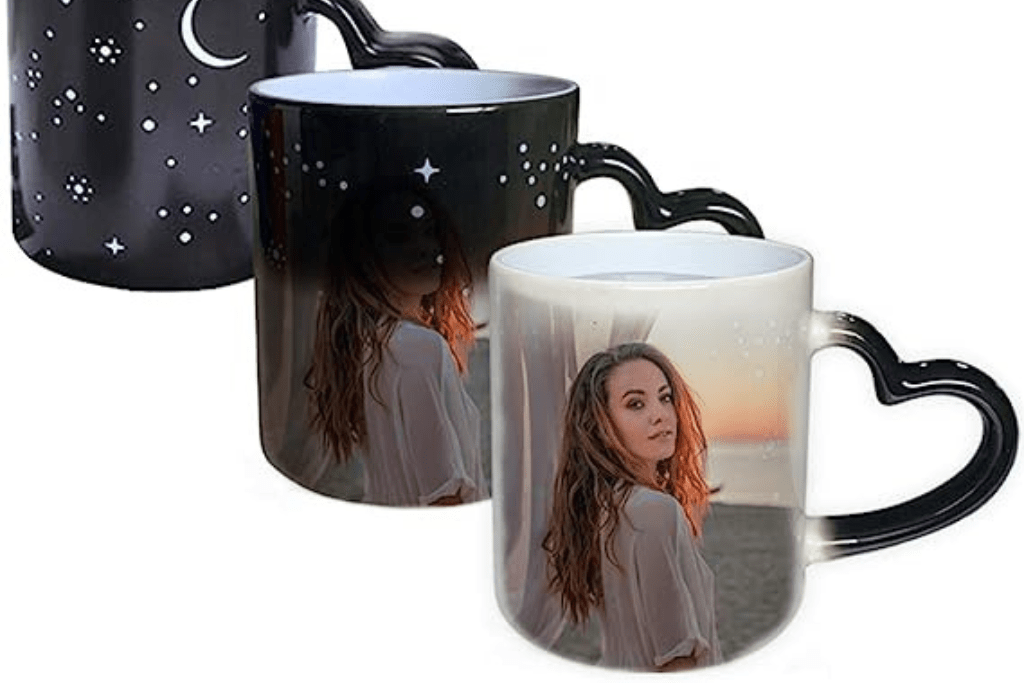
When it comes to photo decor, there’s no need to feel confined by traditional frame-and-wall methods. Add a dash of uniqueness to your home interior design by incorporating your pictures into functional everyday items.
For instance, you can plaster smaller images onto printed pillows or coasters. Put your favorite photo on a heat-sensitive, color changing mug that reveals your favorite photo along with your favorite morning beverage. You can also frame several medium-sized photos and place them on shelves, on tables, or on any other surface that fits. Lastly, you can turn your beloved photos into calendars and have them displayed on your desk.
It’s a great way to surround yourself with precious moments that are personal to you and your family.
Conclusion
While you may not be fully equipped to take your candid shots to artistic masterpieces, you have the basics to get things started.
So whether you’re working on getting the perfect Instagram pictures or stretching your creative muscles with home decor, keep trying until you like the results!
Thanks for this contribution. We are always looking for the best way of photo editing before sharing. Great 6 tips!